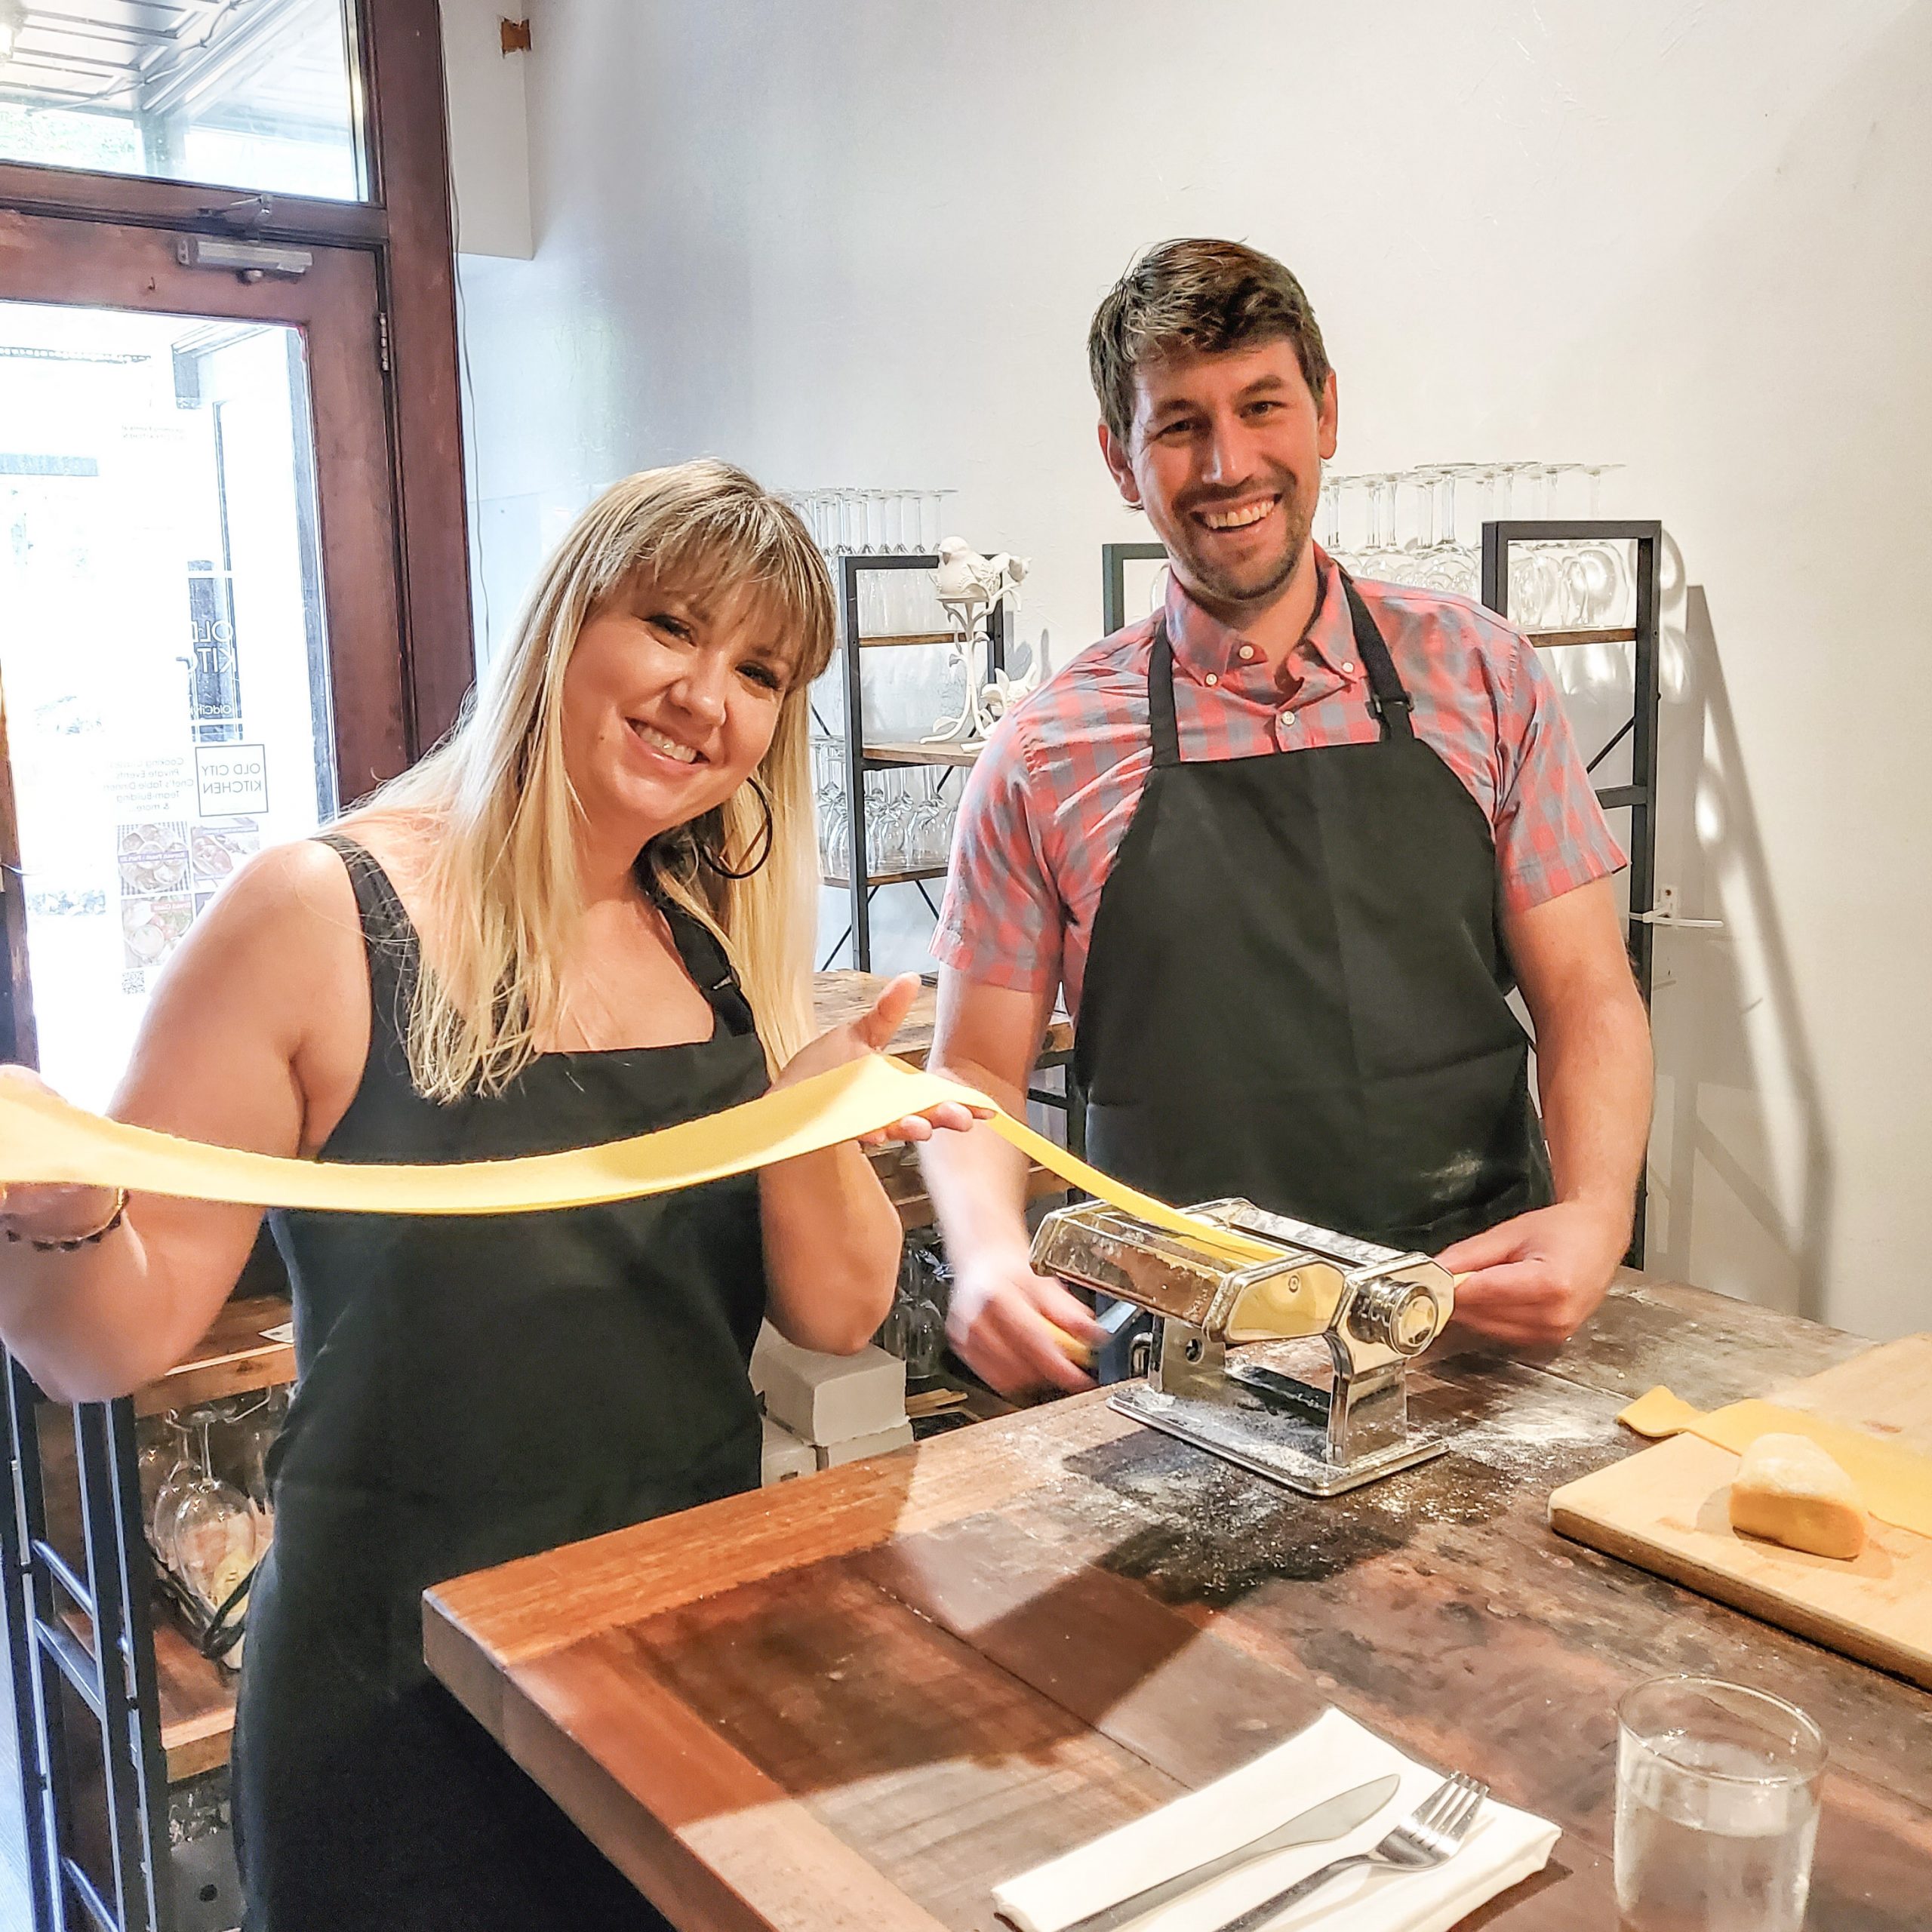


Give the gift of time spent together!
Give your team the gift of choice! Gift cards are available in any denomination!
Focaccia Recipe
FOCACCIA CLASS AT OLD CITY KITCHEN
INGREDIENTS:
5 cups All Purpose Flour (625 grams)
1 heaping tablespoon of Kosher salt (18 grams)
2 ¼ teaspoons of active dry yeast (15 grams) – or one packet, Red Star brand is excellent
2.5 cups of warm water (110-115 degrees)
2 teaspoons of honey or sugar (11 grams)
4-5 tablespoons of Extra Virgin Olive Oil (plus additional for pan and topping)
Butter to grease pan
Sesame seeds for bottom of prepared baking pan
Additional Kosher salt or Malden salt for topping
TOOLS:
Measuring cups/spoons, or kitchen scale (see notes below)
Large metal or glass bowl
3 cup or larger glass measuring cup
Silicone spatula or spoon
Cling film
Baking pan (9-inch round or larger, quarter sheet rectangle or large, 8×8 square or larger)
TIPS BEFORE YOU BEGIN:
The most accurate way to measure the flour & other ingredients is by weight using a kitchen scale. Measuring in grams ensures the most consistent results (also far less messy, requiring fewer tools/cups/spoons). You can simply place your bowl on the scale and press “tare” to zero out the weight and get an accurate measurement as you add the ingredients. You can continue to use the Tare button to reset the weight after you add each ingredient.
When checking your water temperature, it is best to use a kitchen thermometer, but if you don’t have one, the water should be warm to the touch, but not hotter than you would use to wash your hands.
If you find the focaccia tends to stick to the pan, try using crumbled up parchment paper. Crumbling your parchment into a small ball and unfolding it will allow the parchment to mold to the shape of any pan. Then continue preparing your pan as instructed below.
MIXING AND PROOFING (FIRST PROOF):
Start with your dry ingredients: In a large metal or glass bowl, combine 5 cups/625 grams of all-purpose flour & one heaping tablespoon of Kosher salt. Wisk together & set aside.
Next, mix your wet ingredients: Using a large measuring cup, add your 2 ¼ teaspoons/11 grams of active dry yeast & your 2 teaspoons/14 grams of honey OR sugar.
Turn on your hot tap water & use a meat thermometer, or instant read kitchen thermometer, to ensure your water temperature reaches between 110-115 degrees.
Fill your measuring cup that contains the yeast & sugar or honey to 2.5 cups. Let this sit for at least 5-10 minutes to start the fermentation process. Within these 5-10 minutes, you should see bubbles and/or a milky white foam forming at the top. If you don’t see any activity, your yeast could be too old, or the water was too warm, or too cold. It is best to start over rather than try to use this mixture (your dough will not rise properly).
Combining wet & dry to form your dough: Add your yeast/honey/water mixture to your large bowl containing your flour & salt. Using a silicone spatula, mix well until you achieve a shaggy looking dough. Be sure to scrape the bottom & sides to ensure everything is mixed.
Preparing to proof: Once your dough has come together, pour 4-5 tablespoons of olive oil down the side of the bowl. The goal is to coat the dough with oil, not to work it into the dough. Using your hands, swirl the dough around until coated (add more oil if needed).
After washing your hands, cover the bowl in cling film, and let rest in a warm spot for up to 6 hours, but 3-4 hours is just fine. Inside your TURNED OFF oven is a great spot if you have a pilot light, just don’t forget it is in there!
OPTIONAL: This is technically a “no knead” recipe, but I find it helpful to knead the dough just once after 30 minutes. Just fold it over a few times & press down. I personally find this helps to strengthen the gluten, but it is 100% not necessary.
If you prefer to proof your dough overnight (this helps to develop a stronger flavor), you can put the covered bowl into the fridge for up to 24 hours. If you use this method, let your dough come back to room temperature before moving it to the second proof.
Preparing your baking pan for the second proof: At this point, your dough should have at least doubled in size. Heat your oven to 450 degrees.
Take your baking pan & coat with butter. You can simply unwrap a stick & run the end along the pan and the sides. Next, add about 4-5 tablespoons of olive oil & roll it around the pan. I find it extremely helpful to add sesame seeds to ensure the bread comes out cleanly – it also adds a nice texture & crunch.
Put a little olive oil on your hands to help you release the dough from the bowl. Pull away the risen dough from the sides & drop into your prepared pan. Rest for at least 30 minutes.
Next, with a little olive oil on your hands again, press down the dough as if you are aggressively playing piano, pressing it into the shape of the pan (but don’t stress if it doesn’t reach or retracts from the edges, it will expand as it bakes).
Top with a little more olive oil if desired & sprinkle on a generous amount of Kosher or Malden salt. At this point, you can also top your focaccia with seasonings, tomatoes, vegetables, cheese, etc. I have found that harder/aged cheeses (parmesan, aged gouda, etc) work best. Note, the more toppings you add, the longer the bake time will be.
Place your focaccia into your 450-degree oven & set a timer for 20-30 minutes – note, ovens can vary greatly, so it is best to bake for the least recommended time at first & add more time as needed. It is also best not to open your oven during the start of the baking time, as this is when the crispy crust begins to form.
You will know the focaccia is done when the top & bottom crust are golden brown, & the bread makes a hollow sound when you tap it. If your toppings start to get too dark, cover with aluminum foil & continue baking until the bottom is crispy.
Try to wait until the focaccia cools a bit before you dig in!
Thank you so much for attending our class at Old City Kitchen! We would love to see the creations you make at home! Please feel free to share & tag us on Instagram – @oldcitykitchen – happy baking!
Pizza Making


Pierogi


